
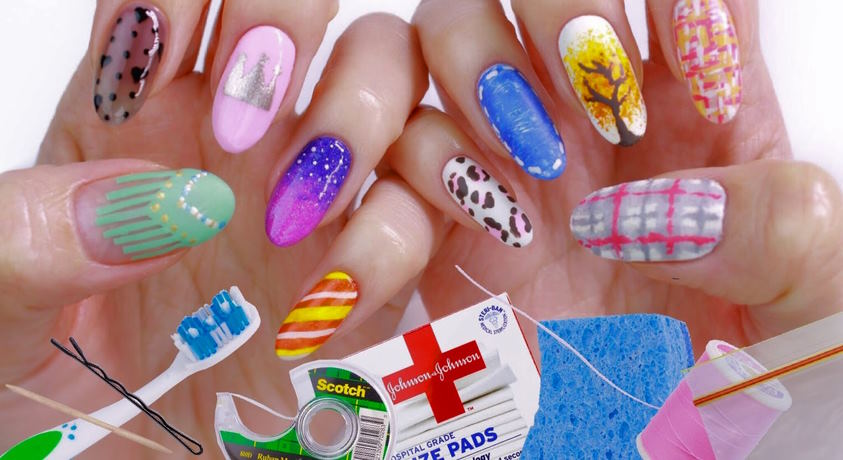
Do you want to express your creative side? Do you have a hard time finding the perfect accessory for completing an outfit? Then look no further! With just a few common household items, it’s easy to create custom nail art designs that will add the perfect finishing touch. Creating unique nail art from home is fun and rewarding and can be a more affordable alternative to expensive salon treatments. From intricate shapes and patterns to bold colors, there are endless possibilities when crafting your signature style with everyday materials. Read on to discover how you can unleash your inner artist and transform plain nails into works of art!
How to use household items to create stunning nail art designs
Nail art is a creative and fun way to express yourself through fashion. You don’t need expensive tools or materials to create stunning looks – you can use common household items like toothpicks, Q-tips, and tape. Here are some tips on how to get started:
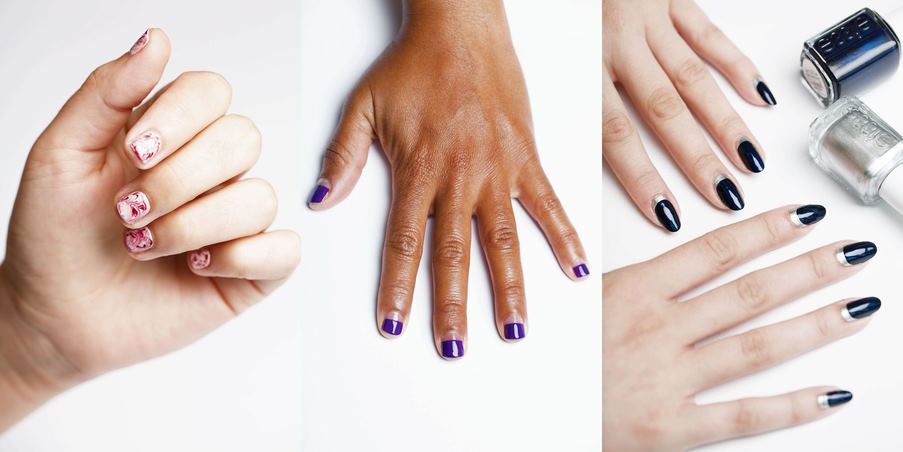
- Toothpick Marbling: Use a shallow dish or glass of water to mix several nail polish colors. Then drag the end of the toothpick across the surface of the water in a swirling motion. Finally, dip your finger into the pattern and wait for it to dry for an awesome marbled look!
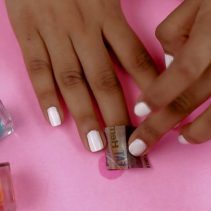
- Tape Manicures: Using scotch tape, mask off certain sections of your nails before painting them. After you’re done painting, carefully peel off the tape to reveal an intricate design of your own making!
- Glitter Stamping: Using a Q-tip and some glue, create a pattern on your nail before sprinkling glitter over the top. Finish with a clear top coat, and be amazed at how sparkly your nails look!
These are just a few ways to use everyday household items to create beautiful nail art designs. With a little bit of creativity, anything is possible! So get creative and have fun with it – let your imagination be your guide!
A tutorial on how to create fun and easy nail art designs using items around the house!
This tutorial will show you how to use everyday items in your home to create various fun and easy nail art designs. You can mix and match different materials such as paper, string, buttons, beads and more to design intricate patterns and vibrant colors.
To get started, you’ll need basic supplies like nail polish (base coat and top coat), cotton swabs or small paint brushes, scissors, glue, tape, glitter and any other decorative items you’d like to use. Once you’ve gathered your supplies, it’s time to start creating!
Begin by selecting the base color for your nails. Apply two coats of polish to each nail, then let them dry completely before starting on the next step. The base color should be one that works well with the decorations you’ve chosen, so take some time to decide which colors will look best together.
Once your nails are painted, it’s time to start adding the decorations! You can use buttons, beads, and other small items to make patterns and shapes on your nails. Glue is perfect for attaching these items securely. Start by selecting the items you’d like to use, then draw a design on paper before adding them to your nails. For added sparkle, add glitter and paint over it while still wet, this technique will create a shimmering effect similar to rhinestones or crystals.
Once all of your decorations are in place, finish off your design with clear polish to seal and secure everything in place. And there you have it, a fun and easy nail art design that you can show off for days! With some practice and creativity, you can easily create beautiful and unique designs right at home.